

How To Change Profile Picture On Windows 10
Each account on Windows ten volition have its ain account picture set by the users. Near of the enterprises will want to set their logo for the user accounts pictures. Still, some users volition desire to change the account picture of all users back to the default ones. This can be washed past following 1 of the methods in this article. In addition to that, users can also supplant the default pictures for the user and invitee accounts.
The Group Policy Editor is non available on Windows ten Abode Editions; therefore, nosotros have included a registry Method that you can utilise to change the setting.
Setting Default Account Flick to All Users
Users can alter their account moving picture in the user settings of the Windows. You can also reset all of the account's pictures back to default ones or to a visitor logo. There is a policy in the Local Group Policy Editor that can help the companies put their logo for all user accounts. The same can exist done by using the Registry Editor. This will also disable the settings of changing the account picture through the default user account settings.
Method 1: Setting Default Business relationship Picture through Local Group Policy Editor
The Local Group Policy Editor is the easiest mode to customize the settings of your Windows operating system. All of the policies already be and the user just needs to edit it. You tin can ready the default business relationship picture for all the users by just enabling a single policy.
Note: The Local Group Policy Editor is simply available on Windows x Enterprise, Windows 10 Pro, and Windows 10 Education editions. If you have a different Windows 10 version, then directly jump to method two.
If your system has the Local Group Policy Editor, so follow the below steps to gear up the default film for all user accounts:
- Press Windows + R keys together to open up the Run dialog. And then, type "gpedit.msc" in it and printing Enter to open the Local Group Policy Editor. Select Yes at the UAC (User Account Control) prompt.
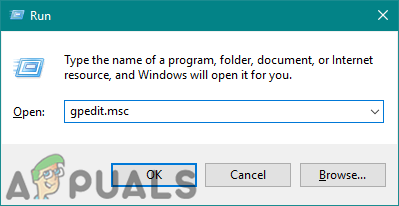
Opening Local Grouping Policy Editor - Navigate to the following location in the Local Group Policy Editor:
Computer Configuration\ Administrative Templates\ Control Panel\ User Accounts
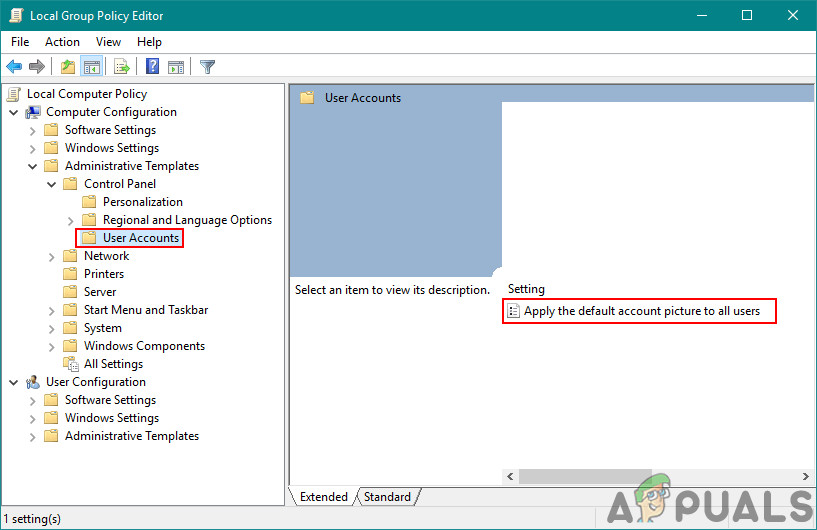
Opening the policy - In the right pane, double-click the policy named "Employ the default business relationship moving-picture show to all users". To enable this policy, modify the toggle from Non Configured to Enabled choice. And so, click the Ok/Apply button to apply the changes.
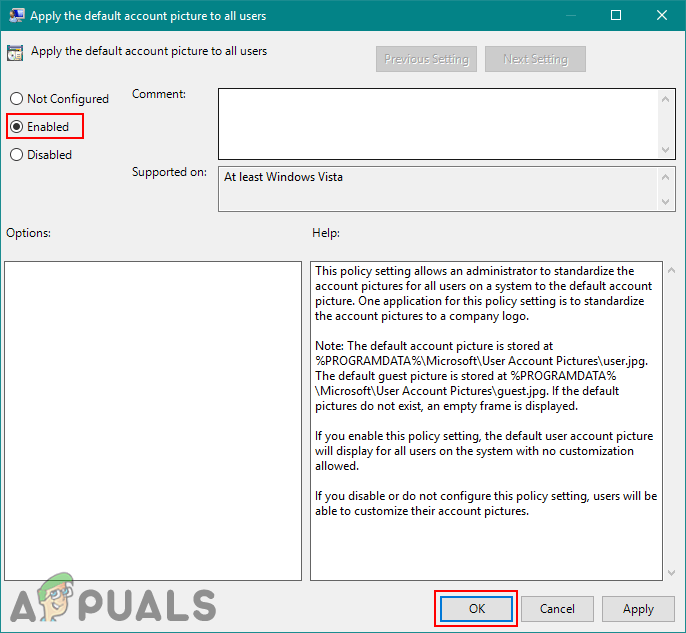
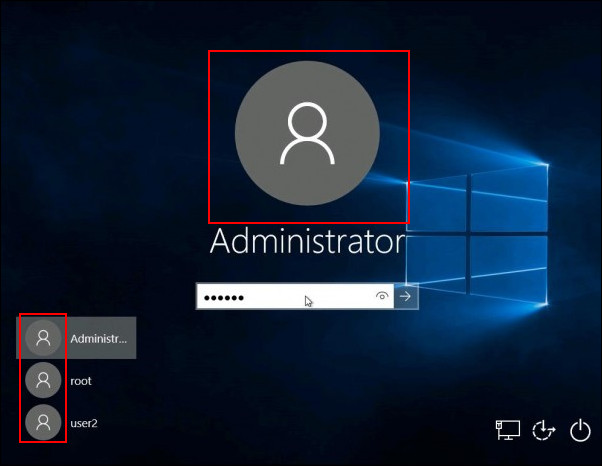
Editing the policy - Now try to bank check the account pictures for all users and they will all be gear up to default ones.
Method ii: Setting Default Account Picture through Registry Editor
The Registry Editor is another way to set the default account movie for all users. This method is not as simple as the Local Group Policy Editor 1, but it volition practise the same piece of work. Users need to accept knowledge about the keys and values that they volition be editing or creating in the Registry Editor. So yes, information technology is a scrap technical, only by following the below steps, you lot volition easily be able to make it work:
- Printing the Windows + R keys together to open up the Run dialog, and so blazon "regedit" in the box and press Enter to open up Registry Editor. Press Yes for the UAC (User Account Control) prompt.
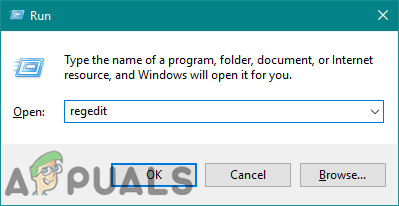
Opening the Registry Editor - Follow the beneath path to navigate to the specific key in the Registry Editor:
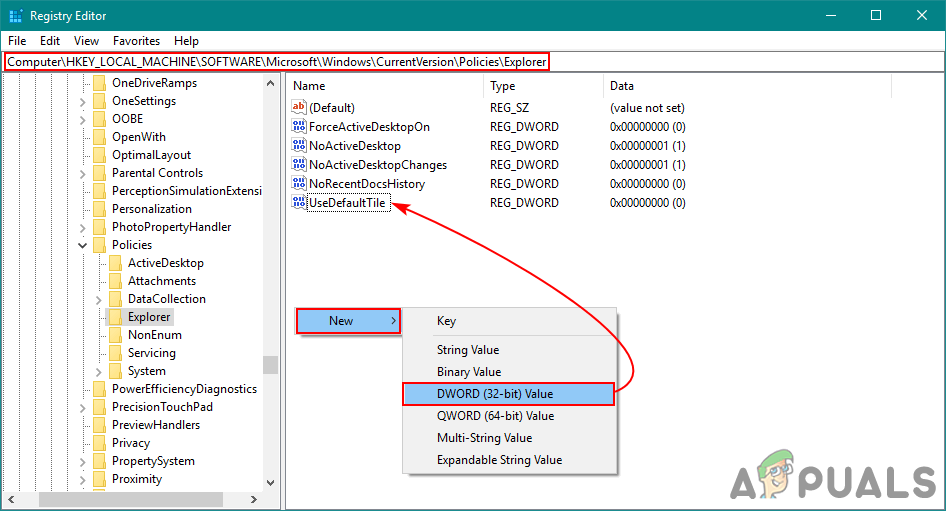
HKEY_LOCAL_MACHINE\Software\Microsoft\Windows\CurrentVersion\Policies\Explorer
- Now create new value by right-clicking anywhere on the right pane and choosing New > DWORD (32-bit) Value. Proper name the following value as UseDefaultTile.
Creating a new value - Double-click on the value to edit it. Modify the Value data from "0" to "i" to enable information technology. Click on the Ok push button to save changes.
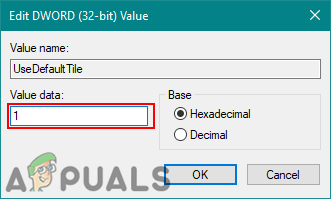
Enabling the value - Lastly, shut the Registry Editor and restart your computer to brand certain the changes have upshot.
Additional: Changing Default Account Motion picture with Another Motion-picture show
You can also change the default account profile image of the Windows 10. The default business relationship pictures are located in a folder and the user tin can replace it with the other images of their own. Past changing these images and applying the above methods, the user will get their ain visitor logo (or related) for all user accounts. Yet, brand certain the sizes of images are correct appropriately. Follow the below steps to try information technology out:
- Open the File Explorer in your computer and go to the following location:
%PROGRAMDATA%\Microsoft\User Account Pictures\
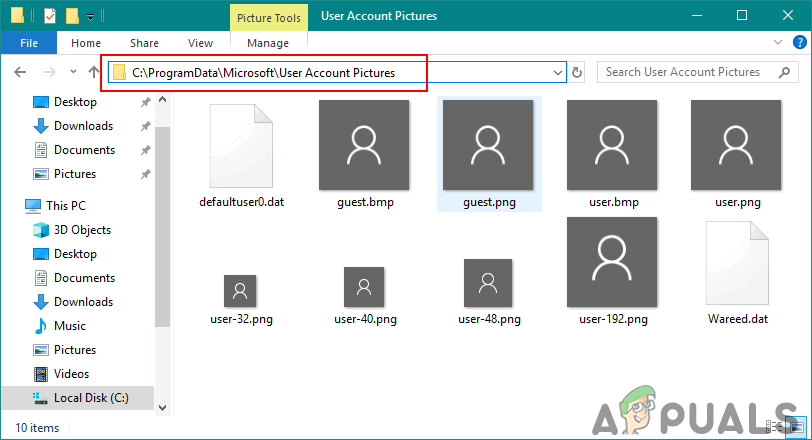
Location for default account pictures Notation: Yous can copy the default images to some other location before replacing them or just rename them with old.
- Now here yous can replace the images with the images that you lot want. The "user.jpg" is the default account pic, so you need to replace it with the same name.
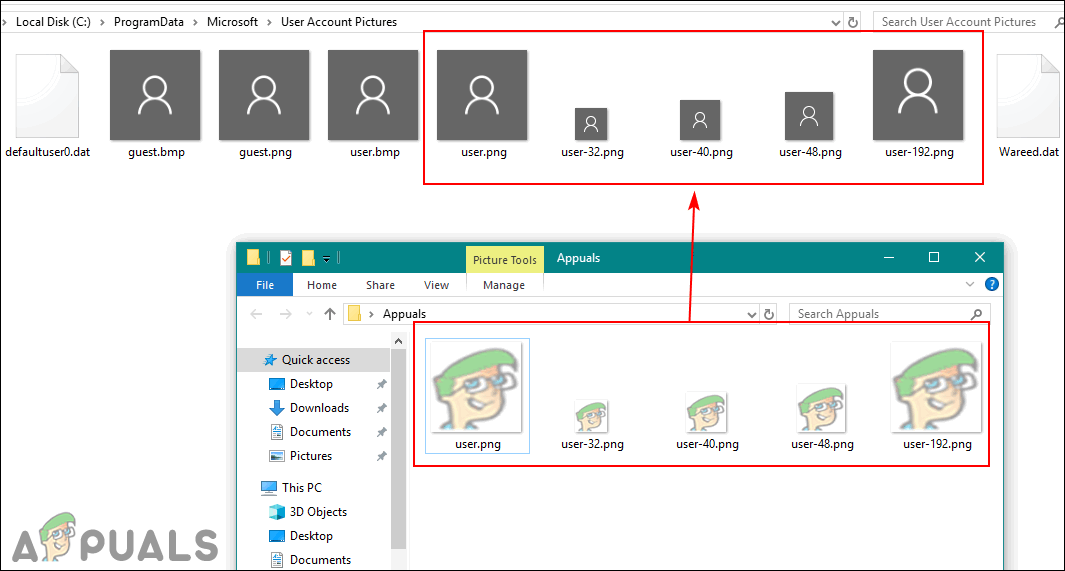
Copying images over the default ones Note: You can supervene upon the other images too for unlike sizes, which will be used for other places. The number in front of the name is the size; similar 32 is 32×32, forty is forty×40, and and so on.
- Once you are washed replacing the images, you can apply ane of the above methods. That will alter the business relationship picture of all user accounts to the paradigm y'all replaced.
![]()

How To Change Profile Picture On Windows 10,
Source: https://appuals.com/set-default-account-picture-for-all-user-accounts-on-windows-10/
Posted by: gardnercrishere70.blogspot.com
0 Response to "How To Change Profile Picture On Windows 10"
Post a Comment